Wine Hardware’s DIY Tips: Building A Wine Rack On A Budget
Planning Your Wine Rack Project
Before embarking on the journey of building a wine rack, it is important to plan every aspect of the project. This includes deciding on the perfect location for the wine rack and determining the size and capacity needed for your wine collection. Proper planning ensures that the wine rack will not only fit seamlessly into your space but also meet your functional needs.
Deciding on the perfect location for your wine rack
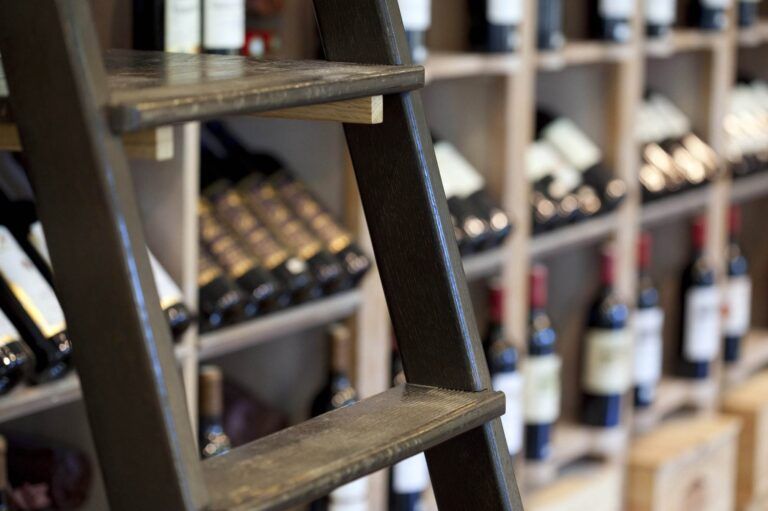
When deciding on the perfect location for your wine rack, consider a space that is cool and away from direct sunlight. It should also be easily accessible for pouring and selecting wine. The ideal location could be a corner in the dining room, a basement area, or even a dedicated wine cellar. Assess the available space and choose a spot that enhances both functionality and aesthetics.
Determining the size and capacity needed for your collection
Determining the size and capacity needed for your collection is an essential step when planning your wine rack. Consider the number of bottles you currently have and how much you anticipate expanding your collection in the future. Measure the dimensions of your wine bottles and calculate the space required for each bottle. This will help you determine the width, height, and depth of your wine rack to ensure it can accommodate your collection.
Necessary Tools and Materials
Essential tools for building a wine rack on a budget
To tackle your DIY wine rack project, you’ll need a few essential tools. These include a power drill, screws, a level, a measuring tape, and a saw. These tools will help you accurately measure and cut the wood, assemble the rack securely, and ensure it is level and stable. Having these tools on hand will make the construction process much smoother and efficient.


Budget-friendly materials to consider for your DIY project
When building a wine rack on a budget, it’s important to choose affordable materials that still offer durability and aesthetic appeal. Plywood or pine can be excellent options for the main structure of the wine rack, as they are readily available and cost-effective. Additionally, consider using inexpensive molding, brackets, or metal rods to add stability and style to your wine rack. By opting for budget-friendly materials, you can create a beautiful and functional wine rack without breaking the bank.
Choosing a Design and Style
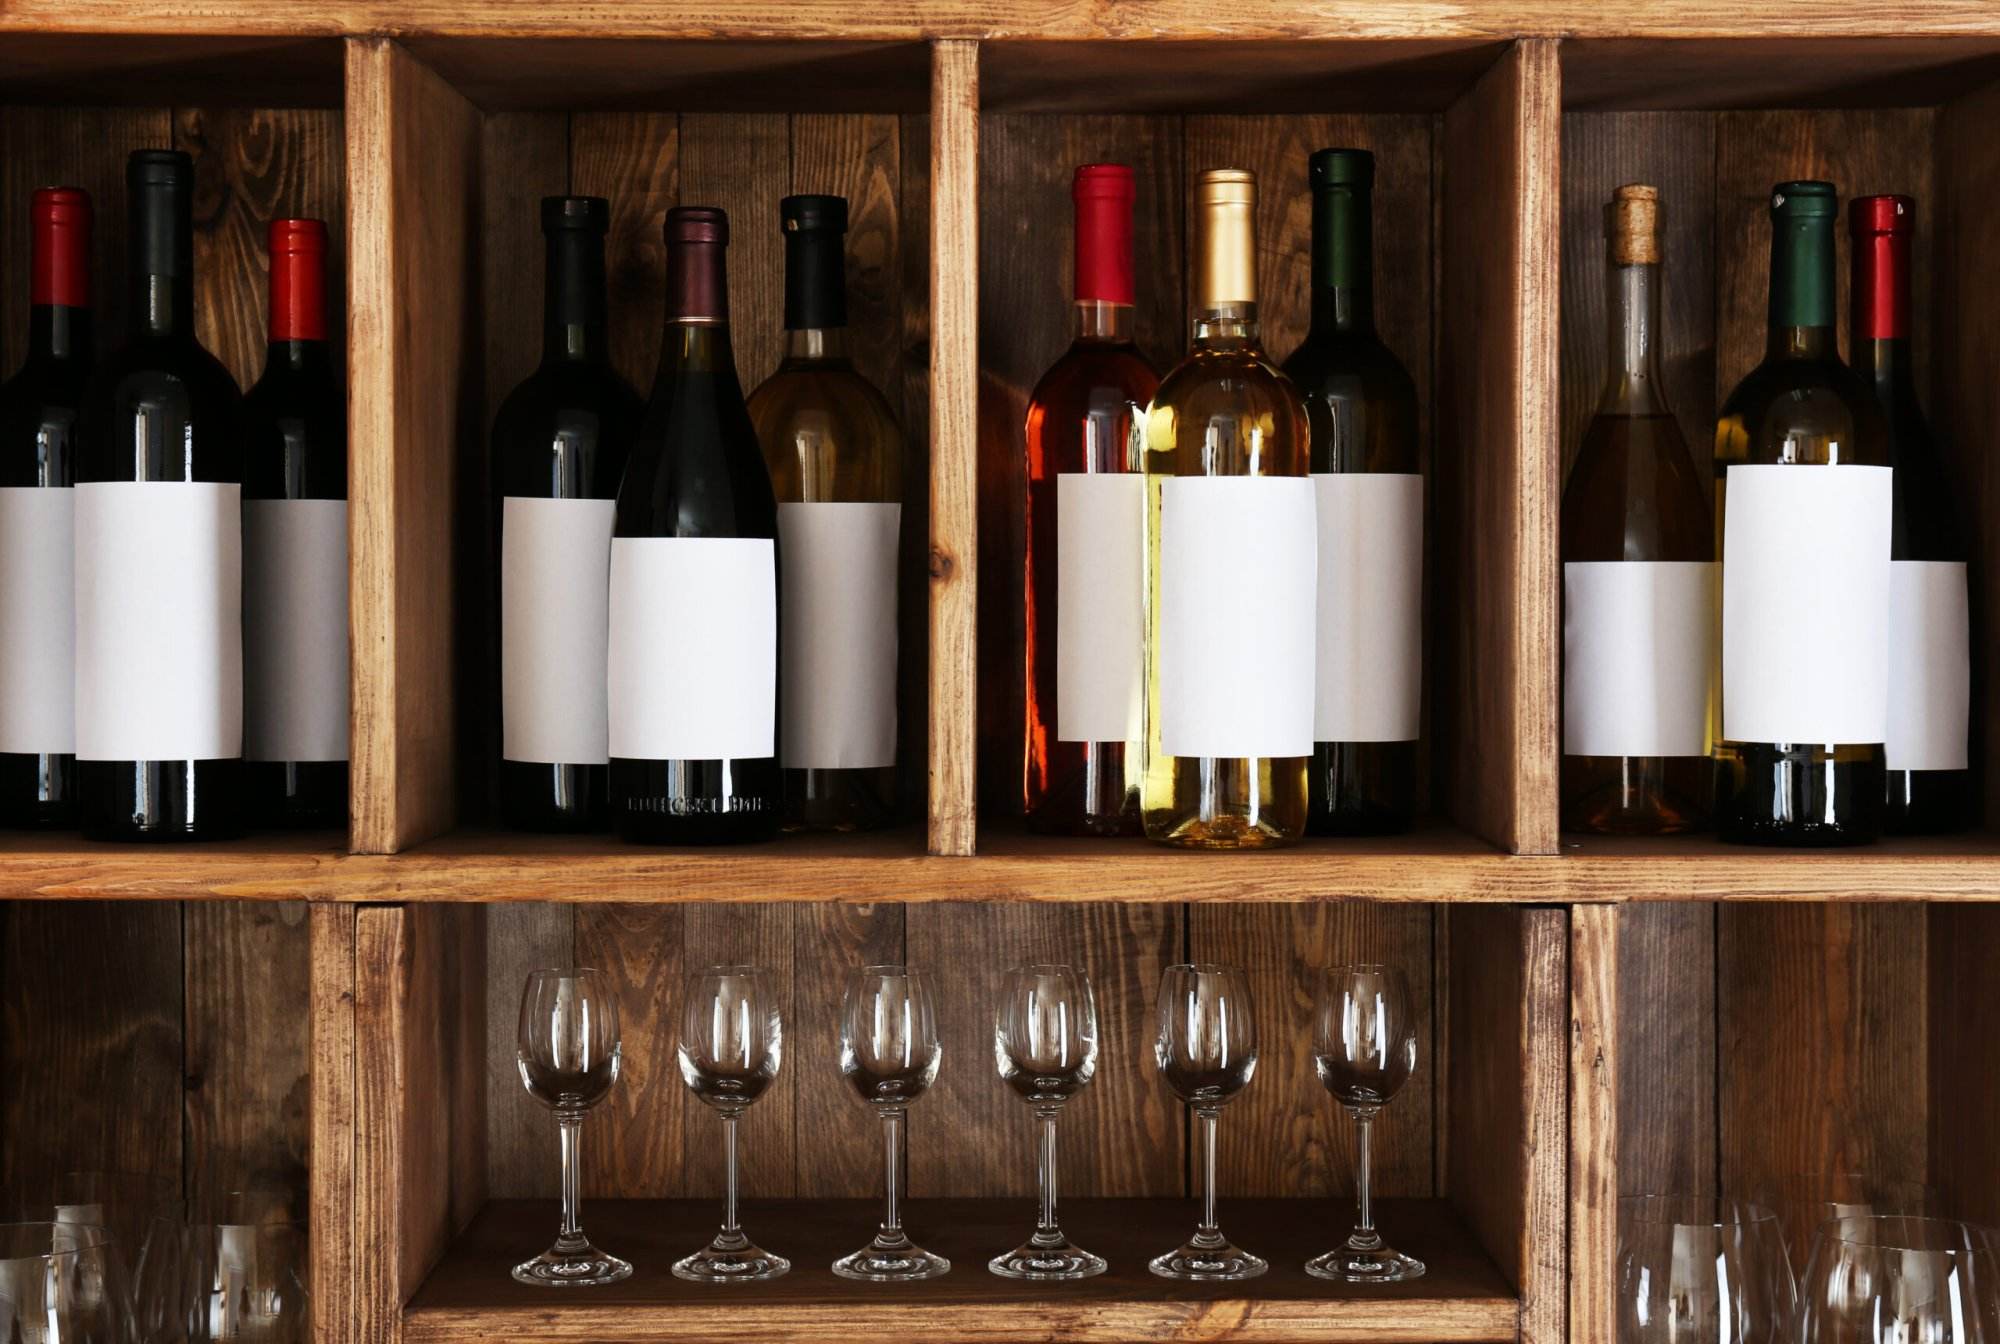
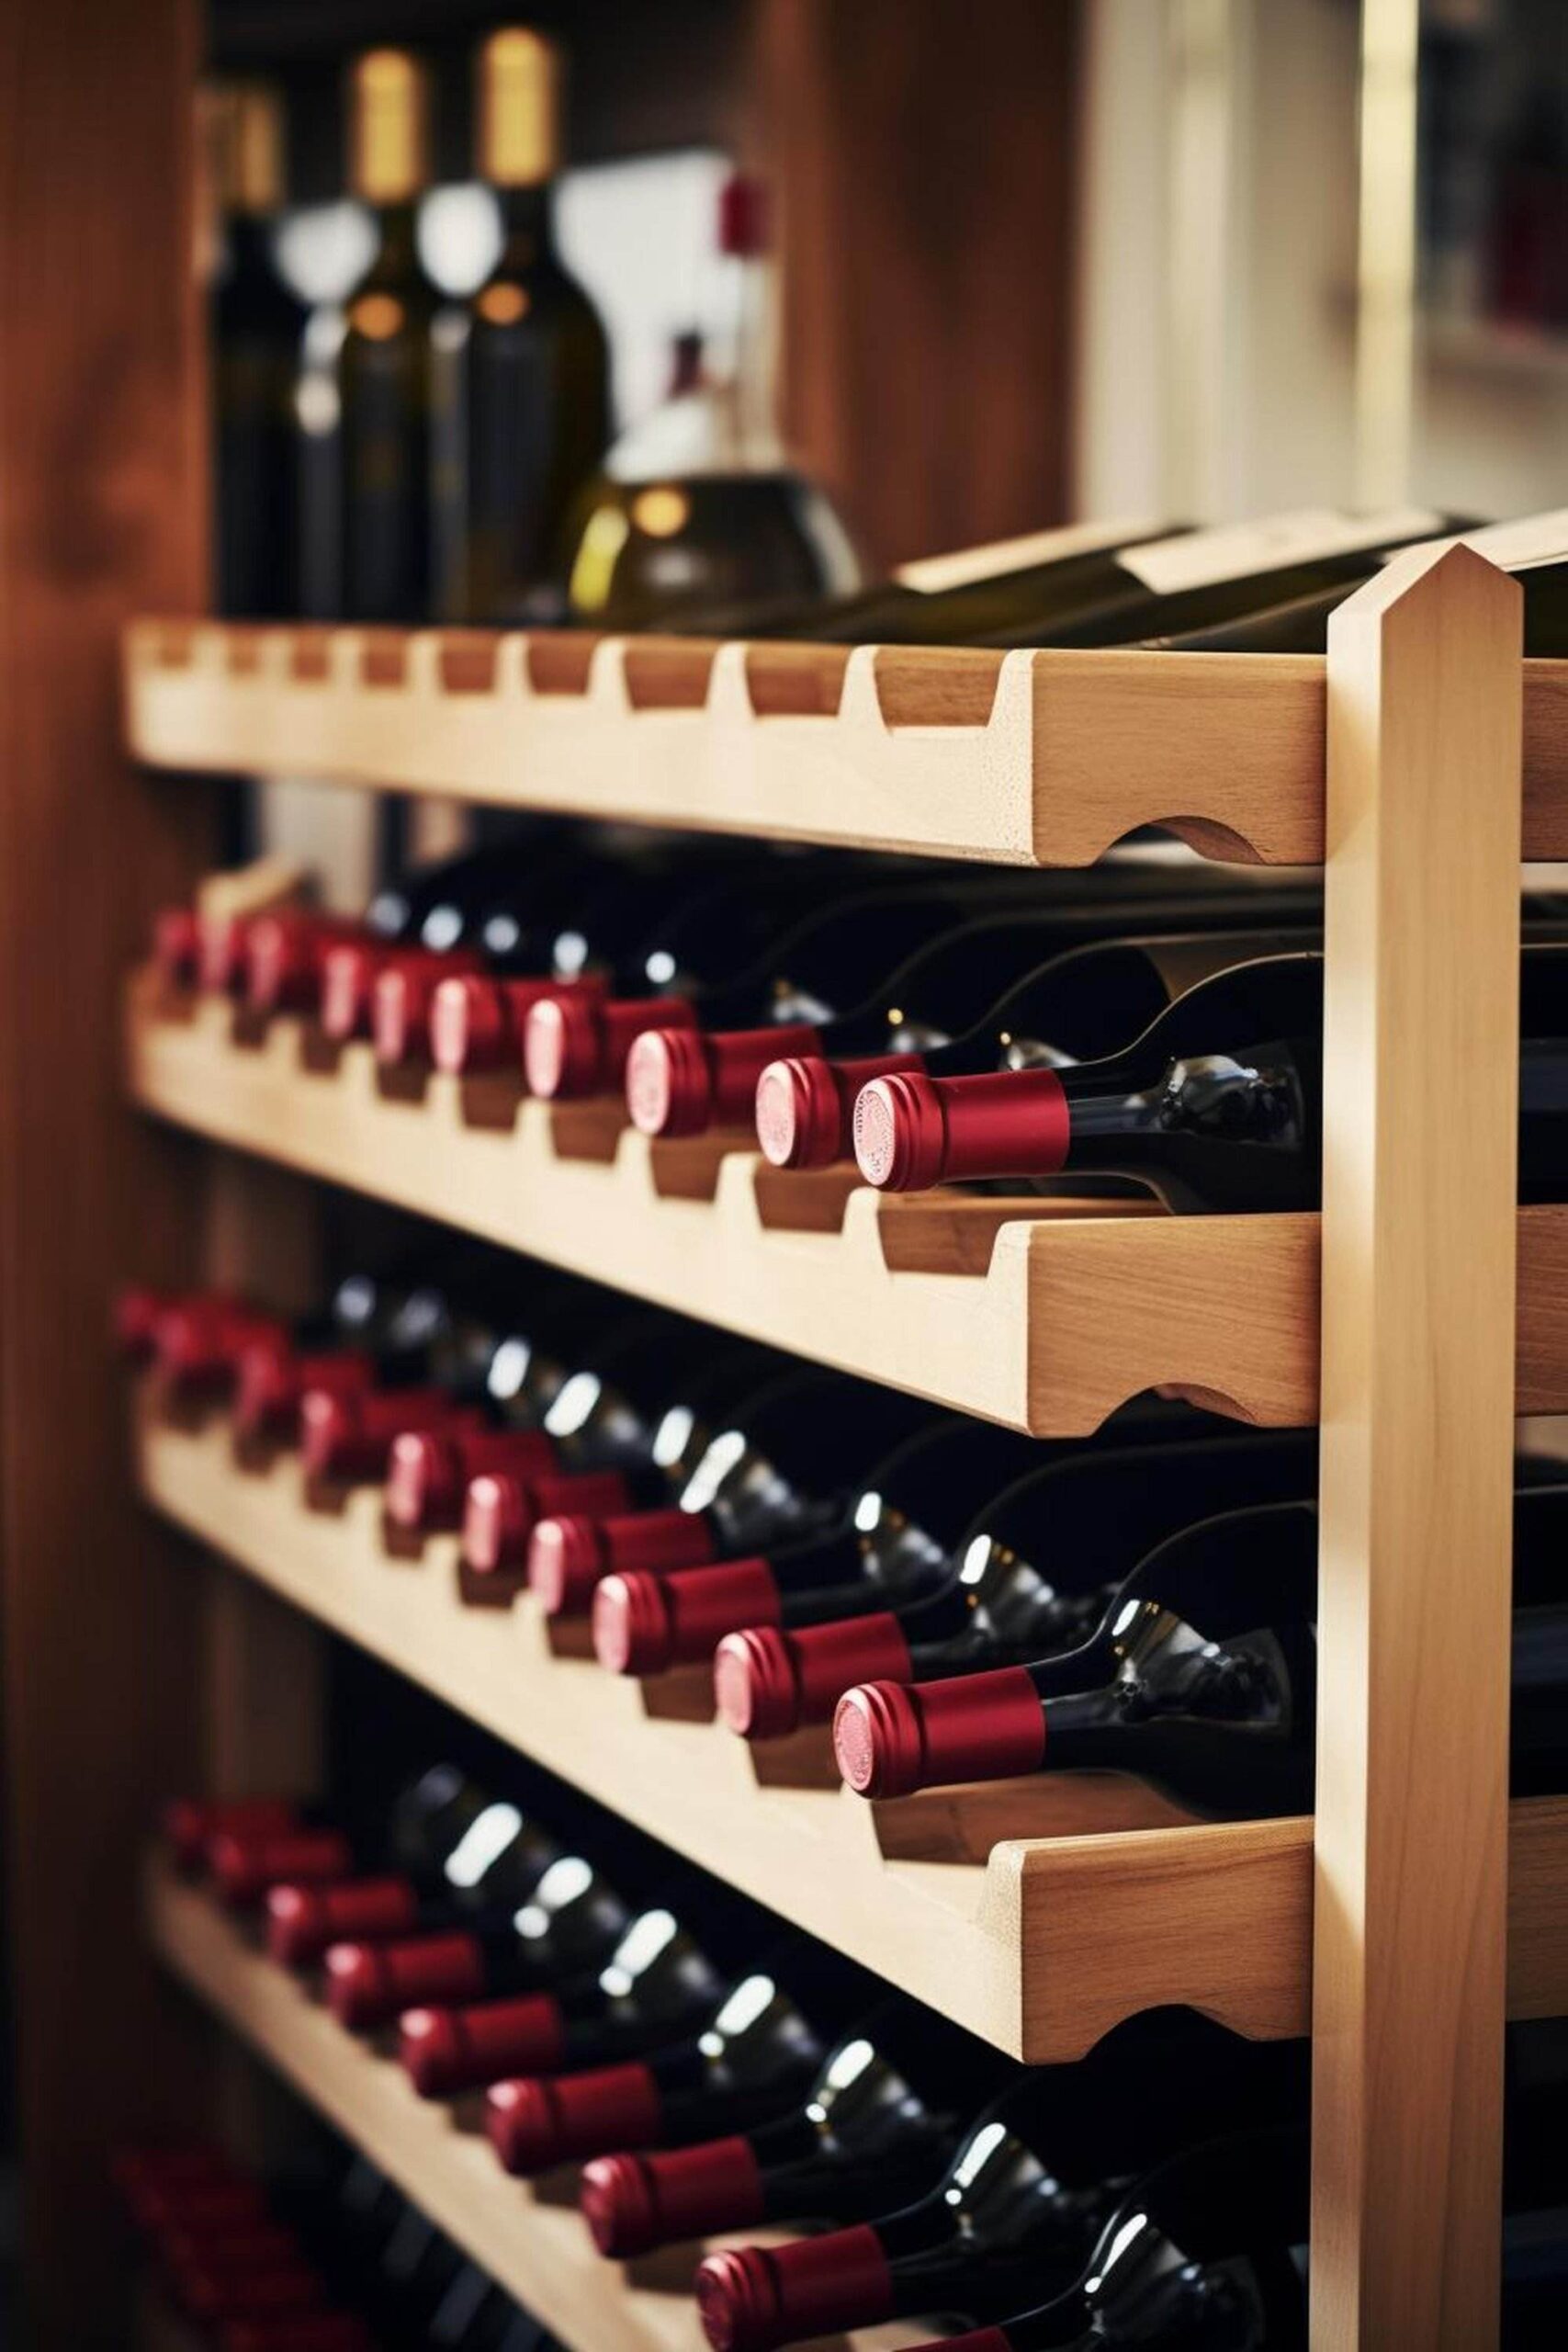
Selecting a design and style for your wine rack is an exciting part of the DIY process. Wine Hardware offers a variety of design options to suit different spaces and preferences. Consider the layout of your room and the overall aesthetic you want to achieve. Choose between wall-mounted, freestanding, or countertop designs, and explore styles like traditional, rustic, modern, or industrial. With Wine Hardware’s wide range of options, you can find the perfect design to complement your space.
Selecting a design that suits your space and preferences
When choosing a design for your wine rack, it’s important to consider the space where it will be placed and your personal preferences. Wine Hardware offers a wide range of designs to suit different spaces and styles. Whether you prefer a wall-mounted, freestanding, or countertop design, Wine Hardware has options to match your taste. Take into consideration the overall aesthetic of your room and select a design that complements it beautifully.
Exploring different styles of wine racks for inspiration
Exploring different styles of wine racks can provide inspiration for your DIY project. Wine Hardware offers a variety of styles to suit every taste. From traditional wooden racks to modern metal designs, you can find a style that complements your home decor. Whether you prefer a sleek and minimalist look or a rustic and vintage aesthetic, Wine Hardware has options that will inspire you to create the perfect wine rack for your space.
Step-by-Step Building Instructions
- Measure and mark the dimensions for your wine rack on the wall or in the designated area. Use a level and tape measure for accuracy.
- Cut the wooden planks or metal bars to the desired length using a saw or metal cutter. Sand any rough edges to create a smooth surface.
- Attach the vertical supports to the wall or floor, ensuring they are secure. Use screws or brackets for stability.
- Place the horizontal shelves or bars evenly between the vertical supports. Use a level to ensure they are straight and level.
- Secure the shelves or bars to the vertical supports using screws, brackets, or metal clips. Ensure they are firmly in place.
- Test the stability of the wine rack by applying light pressure and checking for any wobbling or movement. Make any necessary adjustments and reinforce if needed.
- If desired, add additional features such as wine glass racks or bottle holders to maximize functionality and storage space.
- Clean up any excess sawdust or metal shavings and give your wine rack a final inspection for any loose screws or sharp edges.
- Once satisfied with the construction, load your wine bottles onto the rack, ensuring they are well-supported and not at risk of falling.
- Step back and admire your newly built wine rack, knowing that you successfully created a functional and budget-friendly storage solution for your wine collection.
Note: These step-by-step instructions are general guidelines. It is important to always prioritize safety and follow proper techniques when using tools and materials. Consult professional advice if unsure about any aspect of your DIY project.
Detailed instructions for constructing your wine rack
To begin constructing your wine rack, start by marking and measuring the dimensions of your desired rack on the wall or designated area. Cut the wooden planks or metal bars to the desired length and sand any rough edges. Secure the vertical supports to the wall or floor with screws or brackets. Place the horizontal shelves evenly between the supports and secure them with screws or metal clips. Test the stability and make necessary adjustments. Optional: add wine glass racks or bottle holders. Clean up any excess debris and load your wine bottles onto the rack.
Tips for assembling and securing your wine rack
When assembling your wine rack, make sure to follow the manufacturer’s instructions carefully. Use a level to ensure that your wine rack is straight and evenly balanced. Secure the rack firmly to the wall or floor to prevent any accidents or instability. Consider using anchors or braces for added support, especially if you have a large collection. Double check all screws or clips to ensure they are properly tightened. Regularly inspect your wine rack for any signs of wear or damage and make necessary repairs promptly.

Wine Rack Finishing Touches
Options for staining or painting your wine rack:
After the construction of your wine rack is complete, you can add the finishing touches to enhance its appearance. One option is to stain the wood to highlight its natural beauty and add a touch of sophistication. Alternatively, you can paint the wine rack to match your existing decor or create a statement piece. The choice of stain or paint color is entirely up to your personal taste and style. Remember to use a finish that is safe for contact with wine bottles.
Adding personal touches and customization to your project:
To make your wine rack truly unique, consider adding personal touches and customization. You can attach labels or tags to each wine slot to help with organizing your collection. Additionally, you can incorporate decorative elements such as engraved initials or decorative accents that reflect your own style. This customization will not only make your wine rack functional but also a visually pleasing addition to your space.
Options for staining or painting your wine rack
Once the construction of the wine rack is complete, Wine Hardware recommends considering options for staining or painting to enhance its appearance. Staining the wood can highlight its natural beauty and add sophistication, while painting can match existing decor or create a statement piece. The choice of stain or paint color is up to personal taste. Remember to use a finish that is safe for contact with wine bottles.
Adding personal touches and customization to your project
Adding personal touches and customization to your wine rack is a great way to make it unique and reflect your personal style. Wine Hardware suggests considering adding decorative elements such as brass or iron accents, engraved nameplates, or even LED lighting to highlight your wine collection. Additionally, you can incorporate additional storage features like drawers or shelves to accommodate wine accessories or glasses. Get creative and make your wine rack truly yours.
Conclusion
In conclusion, building a wine rack on a budget can be a rewarding and cost-effective project. By carefully planning the location, size, and design of your wine rack, you can create a stylish and functional storage solution for your wine collection. With the right tools and materials, along with some personal touches and customization, you can proudly showcase your DIY wine rack and enjoy your favorite bottles in style. Cheers to your successful wine rack project!
Benefits of building a wine rack on a budget
Building a wine rack on a budget offers several benefits. Firstly, it allows wine enthusiasts to save money by creating their storage solution instead of purchasing an expensive pre-made one. Secondly, it provides an opportunity for customization and personalization to match individual preferences and decor. Lastly, the sense of accomplishment and pride that comes from completing a DIY project enhances the overall enjoyment of owning and displaying a wine collection.
Showcasing your finished wine rack and celebrating your DIY success
After putting in the time and effort to build a wine rack on a budget, it’s time to proudly showcase the finished product. Wine enthusiasts can display their collection with pride, knowing that they created a beautiful and functional storage solution themselves. Celebrate the DIY success by inviting friends and family over to appreciate the craftsmanship and enjoy a glass of wine together. It’s a tangible reminder of the satisfaction that comes from completing a DIY project and the joy of displaying one’s passion for wine.