Budget‑friendly rack kit assembly tips for first‑time collectors
Before embarking on the journey of building a wine cellar, thorough planning and research are essential. This initial phase sets the foundation for a successful project, ensuring that every aspect is considered. Start by determining the purpose of your wine cellar.
Are you looking to store a modest collection for personal enjoyment, or do you envision a more extensive setup for entertaining guests? Understanding your goals will help guide your decisions throughout the process. Next, consider the location of your wine cellar.
The ideal spot should maintain a consistent temperature and humidity level, away from direct sunlight and vibrations. Basements are often favored due to their naturally cooler temperatures, but other areas can work as well. Research local climate conditions and how they might affect your wine storage.
Additionally, familiarize yourself with the various types of wine cellars available, from simple DIY projects to more elaborate custom builds. This knowledge will empower you to make informed choices as you move forward.


Key Takeaways
- Proper planning and research are essential before starting a collectibles display project to ensure the right materials and tools are used.
- Choosing the right materials is crucial for the longevity and aesthetic appeal of the display, so consider factors such as durability, aesthetics, and cost.
- Essential tools and equipment needed for the project include measuring tape, level, hammer, nails, screws, screwdriver, and drill.
- Step-by-step assembly instructions should be followed carefully to ensure the display is assembled correctly and securely.
- When organizing and displaying collectibles, consider factors such as theme, size, and visibility, and use shelves, shadow boxes, and display cases for an organized and visually appealing display.
Choosing the Right Materials
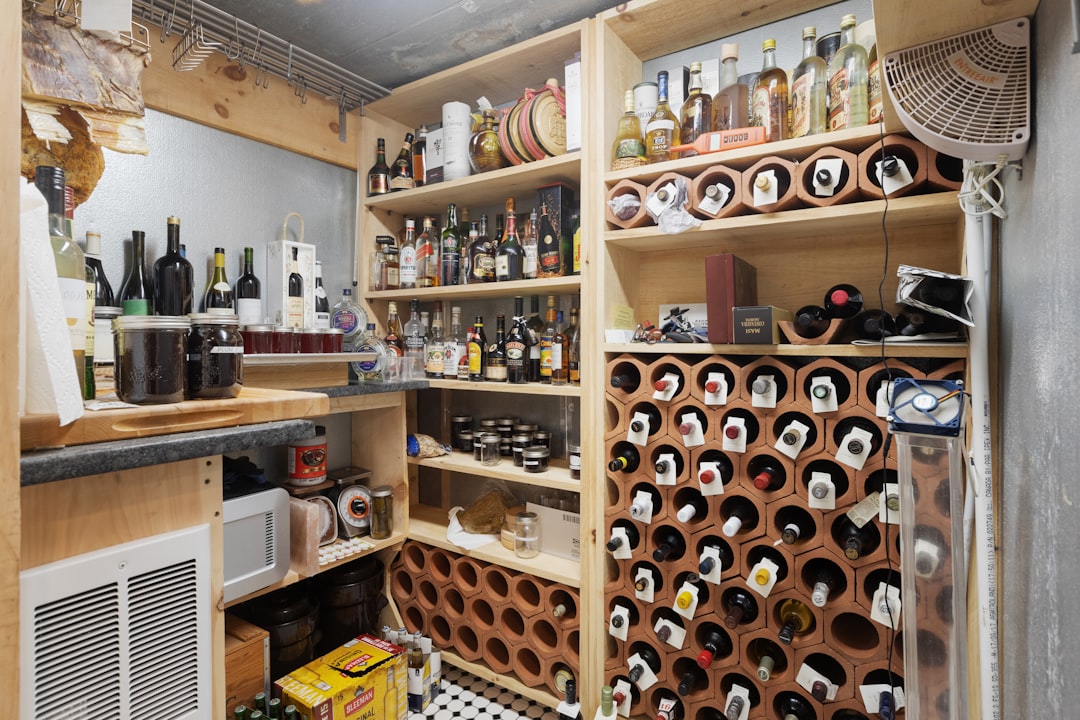
Selecting the right materials is crucial for both the functionality and aesthetics of your wine cellar. The primary considerations should include insulation, shelving, and flooring. Insulation is vital for maintaining a stable environment; materials such as foam board or spray foam can effectively regulate temperature and humidity levels.
Additionally, consider using materials that are resistant to moisture and mold, as these can compromise the quality of your wine. When it comes to shelving, wood is often the preferred choice due to its natural insulating properties and visual appeal. Redwood and mahogany are popular options, as they are durable and resistant to decay.
However, metal racks can also be an excellent choice for modern designs, offering a sleek look while providing sturdy support for your bottles. Flooring should be chosen with care as well; options like tile or sealed concrete are ideal for their durability and ease of maintenance. Ultimately, the materials you select should align with your design vision while ensuring optimal conditions for your wine collection.
Tools and Equipment Needed
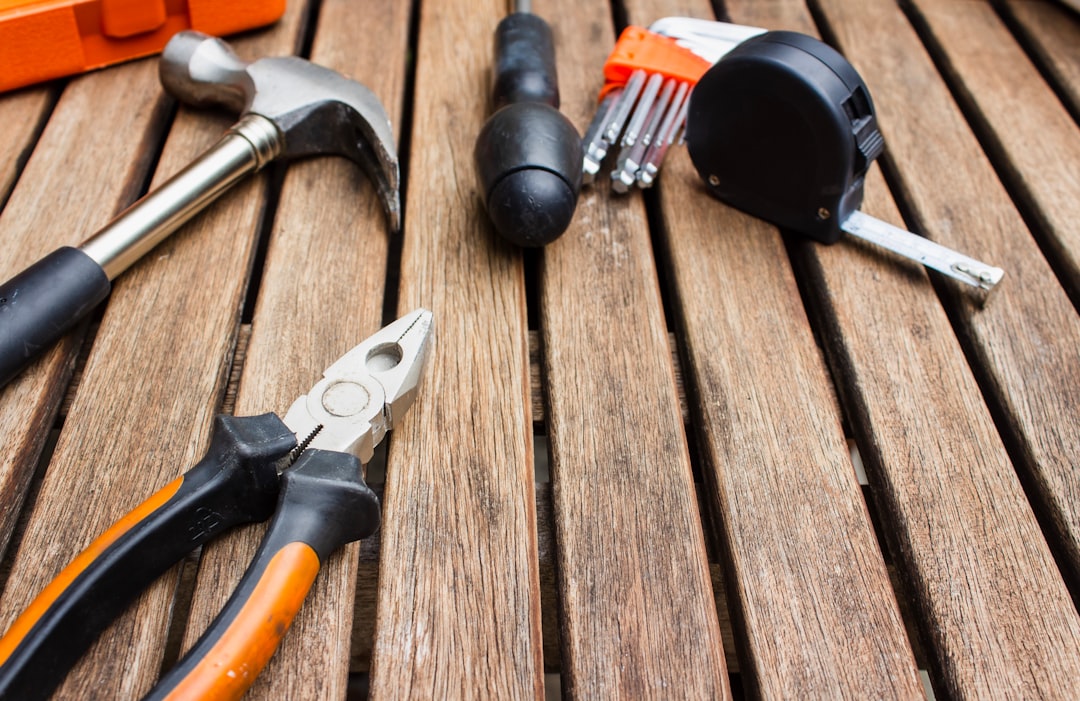
Equipping yourself with the right tools and equipment is essential for a smooth assembly process. A well-stocked toolbox will not only make your project easier but also enhance the quality of your work. Basic tools such as a tape measure, level, and square are fundamental for accurate measurements and ensuring that everything is aligned correctly.
A power drill will be indispensable for making holes and securing shelves, while a saw will be necessary for cutting materials to size. In addition to these basic tools, consider investing in specialized equipment that can streamline your project. For instance, a stud finder can help locate wall studs for secure mounting of shelves or racks.
If you’re working with larger pieces of wood or heavy materials, a miter saw can provide precise cuts at various angles. Safety gear, including gloves and goggles, should also be part of your toolkit to protect yourself during the construction process. By gathering all necessary tools beforehand, you can minimize interruptions and maintain focus on your project.
Step-by-Step Assembly Instructions
Once you have completed your planning and gathered all necessary materials and tools, it’s time to dive into the assembly process. Begin by preparing the space where your wine cellar will reside. Clear out any existing items and ensure that the area is clean and dry.
If you’re working in a basement or similar environment, check for any signs of moisture or leaks that may need addressing before proceeding. Next, install insulation on the walls and ceiling to create a controlled environment for your wine collection. Cut the insulation material to fit snugly between wall studs and secure it in place using adhesive or staples.
After insulating, cover the walls with drywall or paneling to create a finished look while maintaining insulation properties. Once the walls are complete, focus on installing shelving or racks according to your design plan. Use a level to ensure that each shelf is straight and secure them firmly to prevent any accidents.
Tips for Organizing and Displaying Collectibles
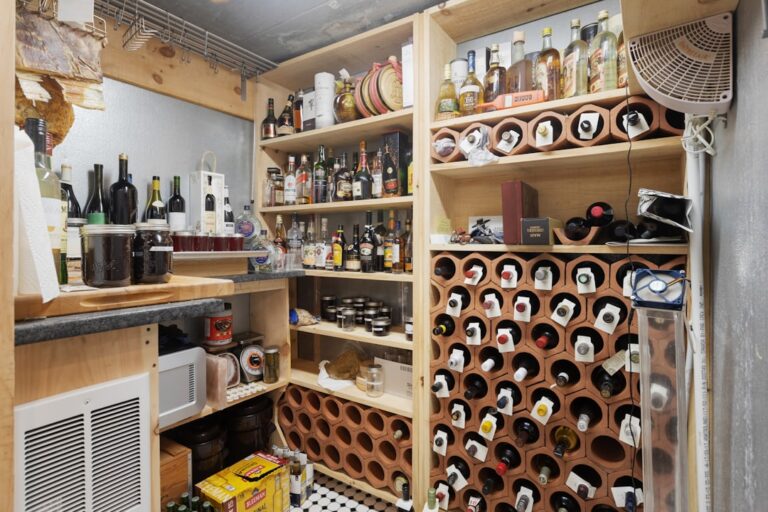
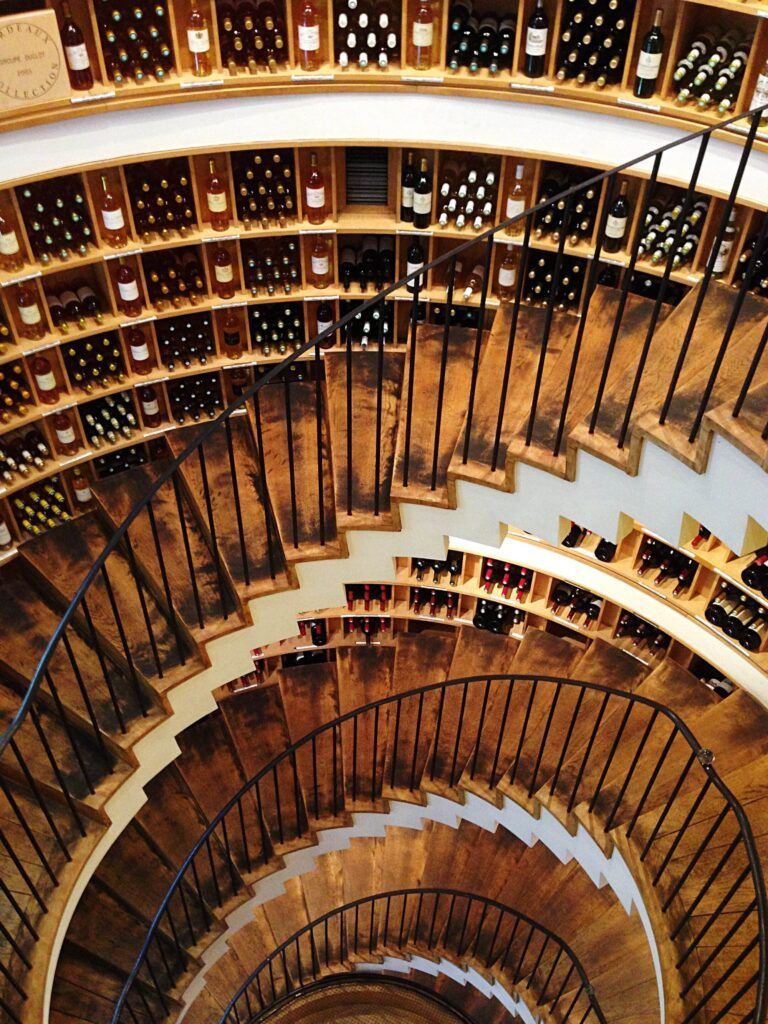
Organizing and displaying your wine collection is an art in itself. A well-organized cellar not only enhances accessibility but also adds to the overall aesthetic appeal of the space. Start by categorizing your wines based on various criteria such as type (red, white, sparkling), region, or vintage year.
This method allows for easy retrieval when you’re ready to enjoy a bottle or share it with guests. Consider incorporating creative display options that showcase your collection while maintaining functionality. For instance, use vertical racks for bottles that are meant to be stored long-term, while horizontal racks can be ideal for wines intended for immediate consumption.
Adding decorative elements such as labels or signage can also enhance the visual appeal of your cellar. Remember that lighting plays a significant role in showcasing your collection; opt for soft LED lights that won’t emit heat or UV rays, which can damage wine over time.


Safety Precautions
Safety should always be a priority during any construction project, including building a wine cellar. Begin by ensuring that your workspace is free from hazards such as clutter or loose wires that could lead to accidents. When using power tools, familiarize yourself with their operation and always follow manufacturer guidelines to prevent injuries.
Additionally, consider ventilation within your wine cellar to prevent mold growth and ensure air circulation. If you’re using chemicals such as adhesives or paints during construction, work in a well-ventilated area and wear appropriate protective gear like masks and gloves. Finally, be mindful of lifting techniques when handling heavy materials; use proper body mechanics to avoid strain or injury.
Budget-Friendly Alternatives
Building a wine cellar doesn’t have to break the bank; there are numerous budget-friendly alternatives available that can help you achieve your vision without overspending. Start by exploring reclaimed materials for shelving and flooring; not only are they often more affordable, but they also add character to your space. Local salvage yards or online marketplaces can be excellent sources for finding unique items at lower prices.
Consider DIY solutions for insulation and shelving as well. Instead of purchasing pre-made racks, you can create custom shelving using plywood or other affordable materials tailored to fit your specific needs. Additionally, look into second-hand tools or borrowing from friends to save on costs associated with purchasing new equipment.
By being resourceful and creative in your approach, you can build an impressive wine cellar without exceeding your budget.


Troubleshooting and Maintenance
Once your wine cellar is complete, ongoing maintenance is crucial to ensure optimal conditions for your collection. Regularly check temperature and humidity levels using a reliable thermometer and hygrometer; ideal conditions typically range between 50-55°F (10-13°C) with humidity levels around 60-70%. If you notice fluctuations outside these ranges, consider investing in a dedicated wine cooling unit or humidifier/dehumidifier to maintain stability.
Additionally, inspect your cellar periodically for any signs of mold or pests that could threaten your collection. Keeping the space clean and organized will help prevent issues from arising in the first place. If you encounter any problems during maintenance—such as leaks or structural concerns—address them promptly to avoid further complications down the line.
By staying proactive about maintenance and troubleshooting, you can enjoy your wine cellar for years to come while preserving the quality of your cherished collection.
FAQs
What is a rack kit?
A rack kit is a set of components used to assemble a rack for storing and displaying collectibles, such as action figures, model cars, or vinyl records.
What are some budget-friendly assembly tips for first-time collectors?
– Look for affordable rack kits that are easy to assemble and made of durable materials.
– Consider purchasing a pre-owned rack kit from online marketplaces or local classifieds to save money.
– Utilize household tools, such as a screwdriver or hammer, to assemble the rack kit instead of buying specialized tools.
– Take advantage of online tutorials and instructional videos to learn how to assemble the rack kit properly without the need for professional assistance.
How can first-time collectors ensure the stability and safety of their assembled rack kit?
– Follow the assembly instructions provided with the rack kit carefully to ensure all components are securely fastened.
– Double-check the stability of the assembled rack by gently shaking it to see if it wobbles or feels unsteady.
– Place the assembled rack on a level surface to prevent it from tipping over or causing damage to the collectibles displayed on it.
– Consider anchoring the rack to a wall for added stability, especially if it is tall or holds heavy items.
What are some common mistakes to avoid when assembling a rack kit for the first time?
– Over-tightening screws or bolts, which can strip the threads or damage the components.
– Ignoring the weight capacity of the rack kit and overloading it with too many collectibles.
– Failing to properly align and level the components during assembly, which can result in an unstable rack.
– Disregarding the manufacturer’s recommendations for maintenance and care of the rack kit after assembly.