Use Wine Hardware to build your next Custom Wine Cellar!
Do you want to build your dream wine cellar? Have you been searching for the right hardware to get started? Look no further! We’ll show you the process of how Wine Hardware creates a beautiful and custom cellar of your own.
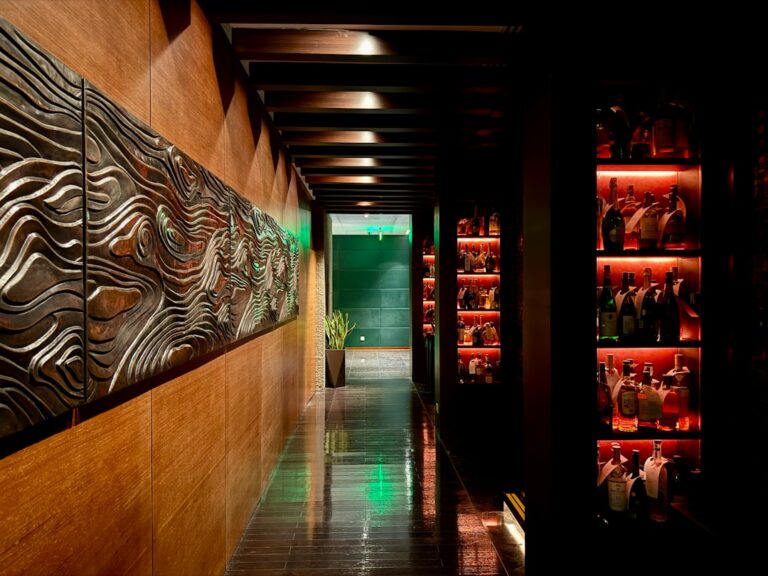
1. Choose Your Space
1. Choose Your Space – Finding the right space for your wine cellar is essential when you’re building from scratch. Work with our contractor to separate the wine storage from the home theater and game room, maybe with a glass wall and doors. Your wine needs a constant temperature and humidity level, so pick a room that can be easily insulated to optimize air flow. Consider the size of your collection when deciding the size of your wine cellar – you don’t want it too big or too small.
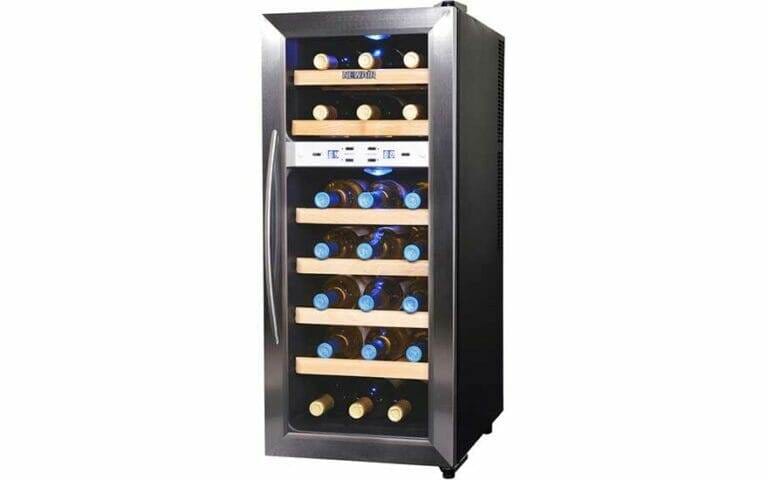
2. Consider Temperature Control
Once you have decided on the space for your wine cellar, it’s time to consider the temperature control. Temperature is the most important factor when it comes to storing and aging wine, as it affects all other aspects. To ensure the best storage environment, you should always aim for a temperature of 55-58°F (13-14°C) with a humidity level of around 70%. Installing a cooling system is key to controlling the temperature and humidity of your cellar. Choose from wine cellar cooling units that come in different sizes, capacities and technologies to meet your needs. Make sure you get a unit that is specifically designed for wine cellars as it will help maintain the ideal temperature and humidity levels for your wine.
3. Decide on the Wall and Ceiling Structure
Once you have chosen your space and considered temperature control, it’s time to decide on the wall and ceiling structure of your custom wine cellar. Framing and electrical should be done using 2×4 or 2×6 construction. You should also seal the concrete foundation walls prior to installing studs. Additionally, be sure to use a vapor barrier to protect against moisture. Insulate the walls and ceiling with 1 ½ inch thick insulation. Remember that stone, glass, cement, and brick are poor insulators, so the best type of wall for your wine cellar is insulated sheetrock or greenboard. Following these steps will ensure that you can keep your wines at the proper temperature and humidity for optimal storage!
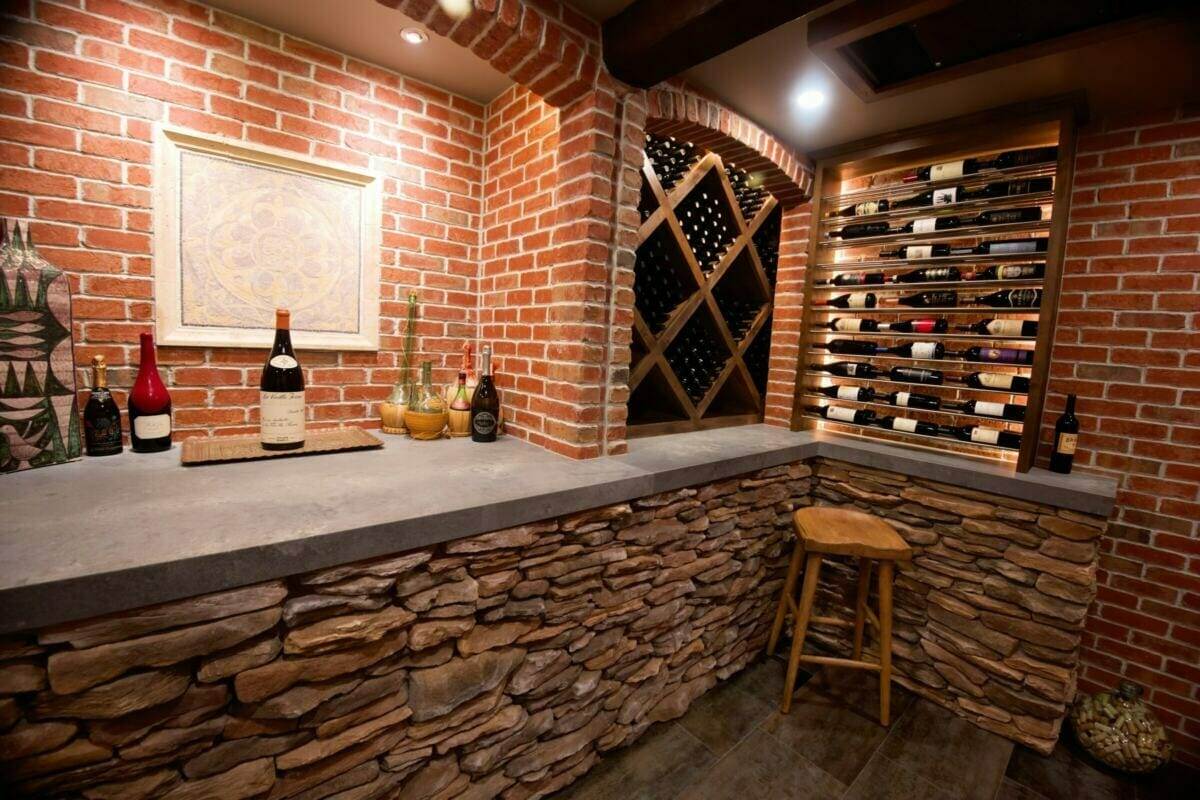
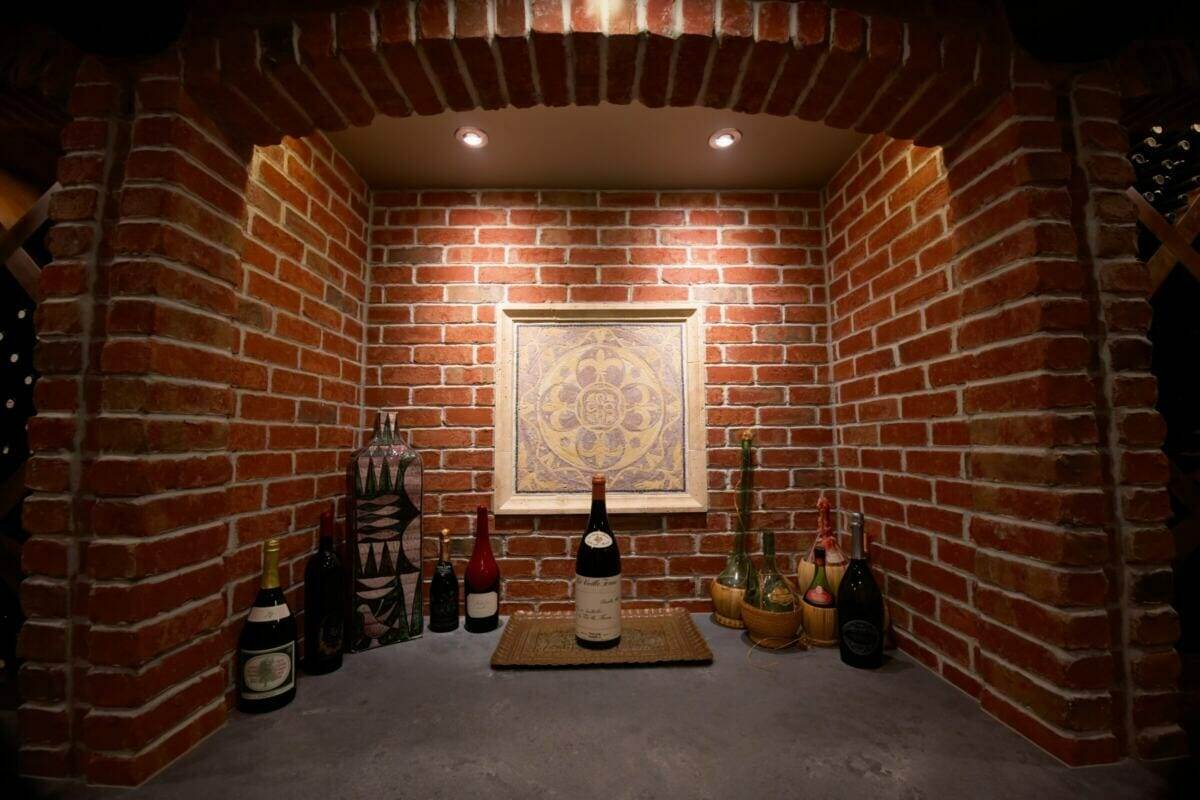
4. Select the Wall and Ceiling Coverings
Once you have chosen the space and considered temperature control, it’s time to decide on the wall and ceiling structure for your custom wine cellar. You will need to use a minimum of R-19 on the walls and R-30 on the ceiling for insulation. To cover the walls and ceiling, you have many options such as wood paneling, tile, stone, or even glass. With Wine Hardware’s selection of high-quality materials, you can create the perfect look for your wine cellar that will last for years to come.

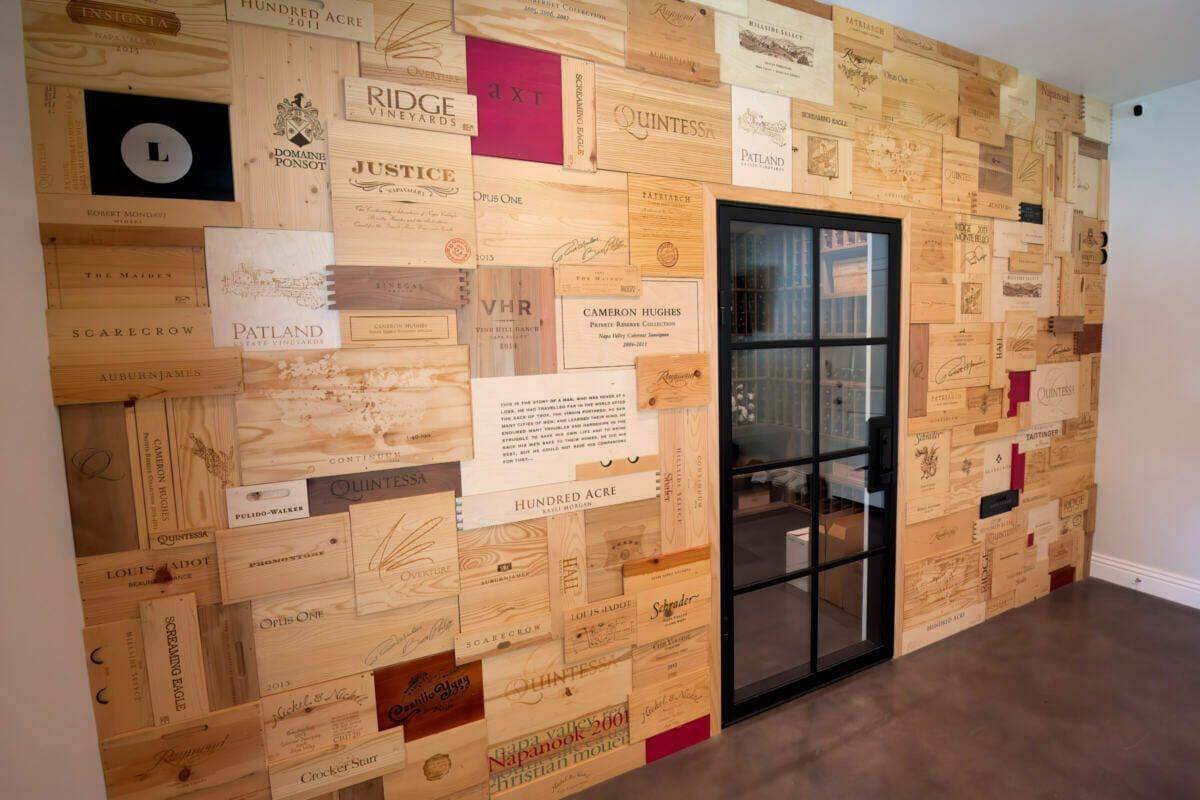

5. Opt for a Glass Door
Once you’ve decided on the structure and coverings for the walls and ceiling of your custom wine cellar, it’s time to consider the door. A glass wine cellar door can give your space a modern, elegant feel, while also providing a good level of insulation and protection from extreme temperatures. Dual paned glass can result in quieter and more efficient cooling. At Wine Hardware, we offer an array of custom-designed doors that can help take your wine cellar to the next level. Browse our selection to find one that fits your style and budget today.
6. Choose Flooring for your Wine Cellar
Once you’ve decided on the wall and ceiling structure, it’s time to select the wall and ceiling coverings. One very important feature of your wine cellar is the floor and your choice of flooring materials. With that in mind, the total weight of the wine, wine racks, and other items should be accounted for when considering the right flooring. Looking for tips on how to choose the right wine cellar flooring for your space? Check out our beginner-friendly guide. Rest assured, with our selection in traditional wood or contemporary metal and acrylic, you’ll have everything you need to build your next custom wine cellar with all the right wine hardware!

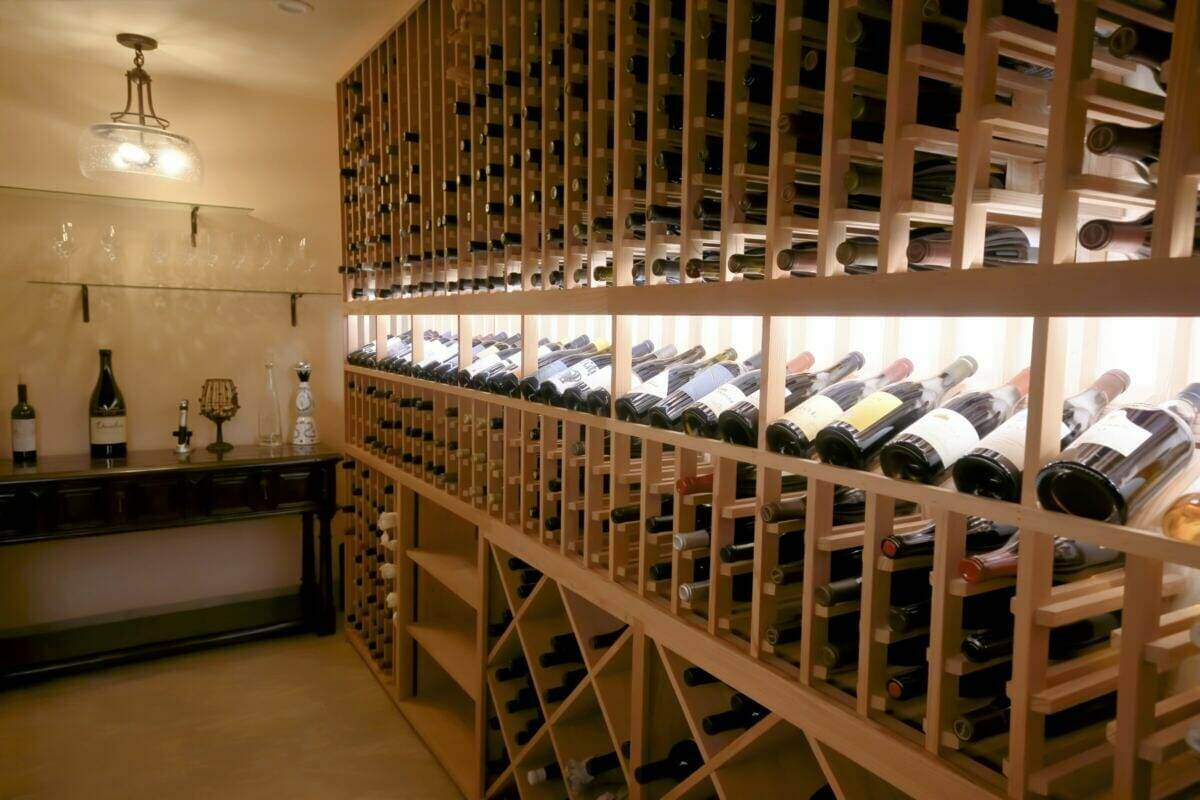
7. Install the Lighting
Once you have decided on the structure and wall covering, it is time to install the lighting. You can opt for LED lighting, or you can choose a softer light to create a more pleasant ambience. There are a variety of options available to you when it comes to choosing the right lighting for your custom wine cellar. Wine Hardware has everything you need to fit your needs for your wine area and accessories. With their vast selection of products, from wine racks to wine refrigeration, I would highly recommend them to anyone looking for quality products and services.
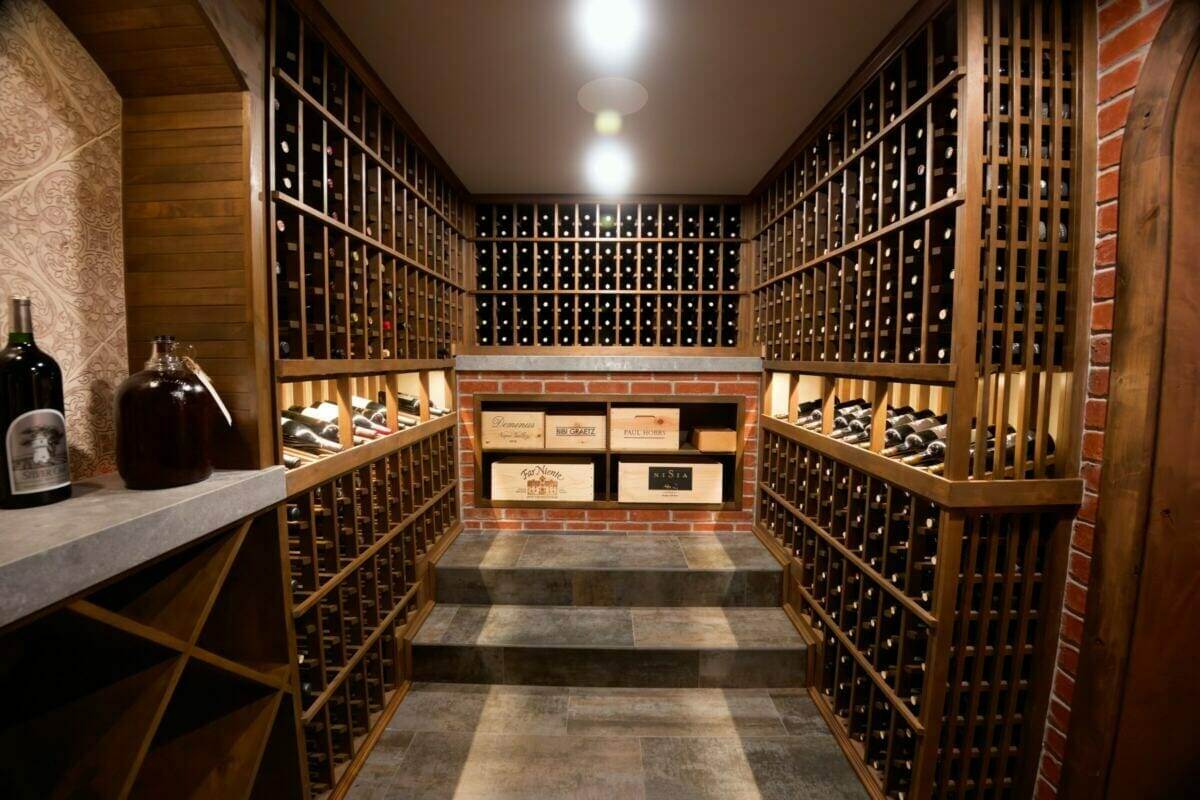
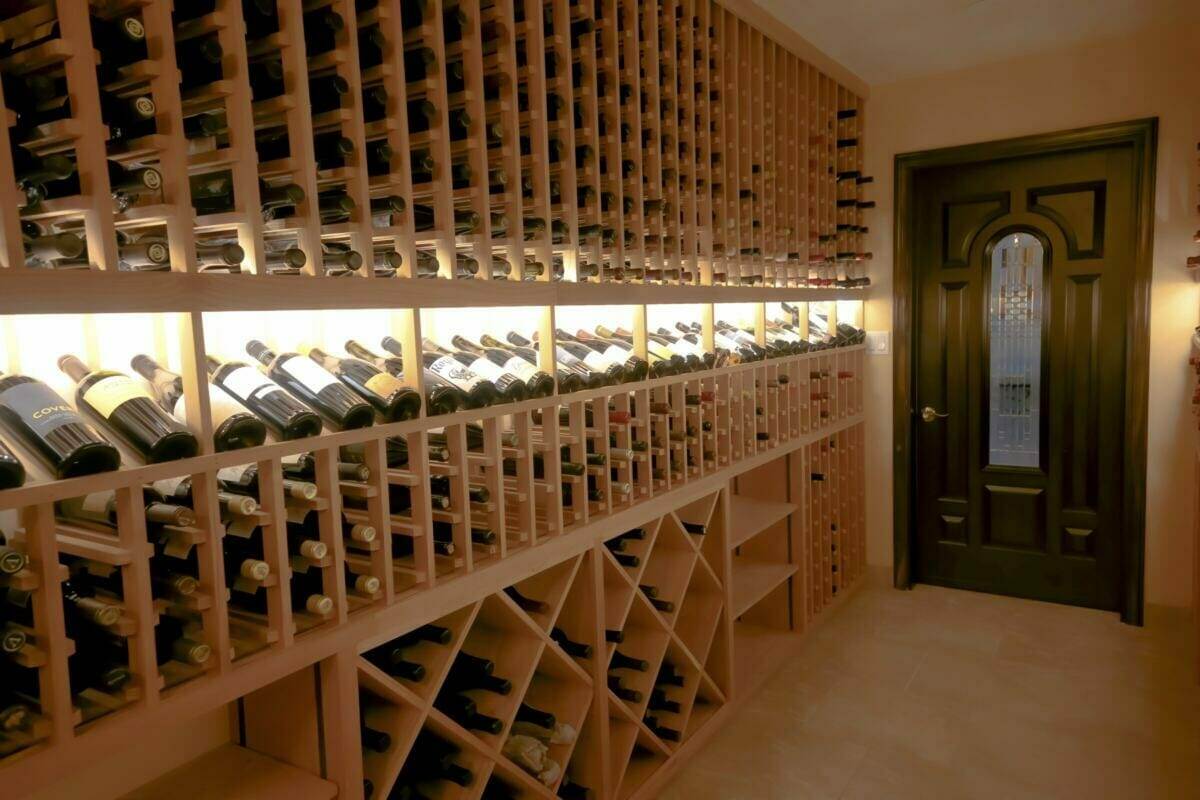
8. Assemble the Wine Racks
Once you have decided on the lighting, it is time to assemble the wine racks. Assemble the wine racks according to the manufacturer directions, and then stain or paint them as desired. This will ensure your custom wine cellar looks great for years to come!
9. Select the Motion Sensor
Once the wine racks are assembled, it’s time to select the motion sensor. It can also be used to measure light intensity – perfect for setting up auto brightness control, using WLED for visual alerts and Google Home integration. With this motion sensor in place, you can be sure that your wine cellar will remain secure and undisturbed!
COME IN TODAY!
Stop waiting and start enjoying the perfect wine cellar of your dreams! Purchase your custom Wine Hardware from Walnut Creek to make it happen today. Don’t delay – get your loyal sommelier just one click away and revolutionize wine storage with Wine Hardware!